No products in the cart.

Do you want to join the fight for Covid-19, and thinking where to start, or want to get extra protection from Covid-19 ? Than you’re in the right place. Here, you will get to know how to build an Automatic Hand Sanitizer Dispenser. And the best part is, this DIY Automatic Hand Sanitizer Dispenser costs less than 1000 Rs.
Components Required
We will use the following items in making this Hand Sanitizer Dispenser:
- Arduino Nano
- 1 Channel Relay Module
- Ultra Sonic Sensor Module
- 12V Buzzer
- 12V / 24V DC Solenoid Valve for Water
- Plastic Bottle with 1 litre capacity
- Body Connector for plastic bottle
- 6.3 mm Diameter Pipe
- 1N4007 Diode
- 12V 1A SMPS Adapter
Don’t worry all this items are available on our website, you can buy it from this link on our website. Now, let’s start building. If you do not want to make this yourself, than you can directly order the Automatic Hand Sanitizer Dispenser from this link.
Working of the Dispenser
Let’s get to know how this DIY Automatic Hand Sanitizer Dispenser will work.
First of all, we have an Ultra Sonic sensor, and a single channel Relay Module hooked to an Arduino Nano. When the user will keep his hand below the sensor in less than 10 cm range, than the sensor output will be read by Arduino Nano and it will turn on the Relay for fraction of a second.
The Relay is connected with Solenoid valve, which will be energized when the Arduino gives Signal to relay.
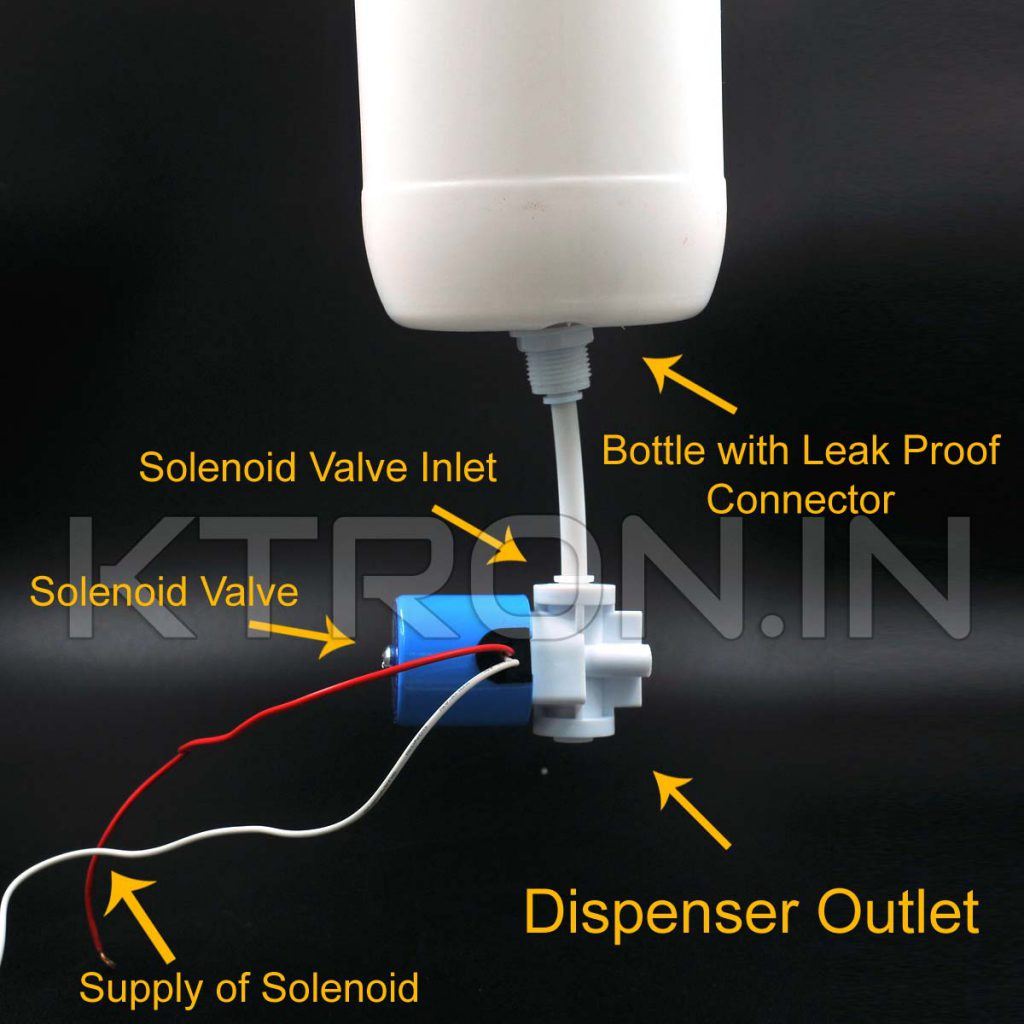
The Solenoid has connection with bottle via a water leak proof connection. The kit link given above already contains the 1 litre bottle connected with this leak proof body connector. A pipe with 6.3 mm diameter inserts in to the body connector. The other end inserts in to the solenoid. Both side has push fit connection.
Doing the Magical Programming
Now, we come to uploading the software to the Arduino Nano, which becomes the brain of this whole thing. Just paste the below code, into the IDE, and upload it to your Arduino Nano.
/* Author : Rahul Rathod
Version : v4
Ultra Sonic Version

Automatic Sanitizer Dispenser
*/

#include <avr/wdt.h>

#define triggerPin 2
#define echoPin 3
#define relayOut 4
#define workingLED 13

unsigned long tt;
// unsigned long distance;


bool outputOn;

bool newSignal;
bool firsttime;


void setup() {
//   // put your setup code here, to run once:
  wdt_disable();

  // Serial.begin(115200);            // Init Serial
  // Serial.println("Started");

/*
* Set the Input And Output Pins
*/
  pinMode(triggerPin,OUTPUT);
  pinMode(echoPin,INPUT);
  pinMode(workingLED, OUTPUT);

  pinMode(relayOut,OUTPUT);
  setOutput(false);


/* Set Unused Pins to Output &
*  keep them to Low to reduce the
*  noise problem.
*/

  pinMode(0, OUTPUT);
  digitalWrite(0,LOW);
  pinMode(1, OUTPUT);
  digitalWrite(1,LOW);

  pinMode(5, OUTPUT);
  digitalWrite(5,LOW);
  pinMode(6, OUTPUT);
  digitalWrite(6,LOW);
  pinMode(7, OUTPUT);
  digitalWrite(7,LOW);

  pinMode(8, OUTPUT);
  digitalWrite(8,LOW);
  pinMode(9, OUTPUT);
  digitalWrite(9,LOW);
  pinMode(10, OUTPUT);
  digitalWrite(10,LOW);
  pinMode(11, OUTPUT);
  digitalWrite(11,LOW);
  pinMode(12, OUTPUT);
  digitalWrite(12,LOW);

  pinMode(A0, OUTPUT);
  digitalWrite(A0,LOW);
  pinMode(A1, OUTPUT);
  digitalWrite(A1,LOW);
  pinMode(A2, OUTPUT);
  digitalWrite(A2,LOW);
  pinMode(A3, OUTPUT);
  digitalWrite(A3,LOW);
  pinMode(A4, OUTPUT);
  digitalWrite(A4,LOW);
  pinMode(A5, OUTPUT);
  digitalWrite(A5,LOW);

  pinMode(A6, OUTPUT);
  digitalWrite(A6,LOW);
  pinMode(A7, OUTPUT);
  digitalWrite(A7,LOW);


  newSignal = false;      // set newSignal to false
  firsttime = true;       // Set newSignal to True, so that 1st reading after restart is not counted.


/*  Enable the Watchdog Timer and Set it to 1S */
   wdt_enable(WDTO_1S);
   wdt_reset();
//
}


void loop() {

   wdt_reset();           //Reset the Watchdog Timer, so it does not restart the device unncessarily


  digitalWrite(workingLED,LOW);   //Turn the LED Off
  delayMS(100);                   //Delay 100ms before new reading of sensor
  {
    digitalWrite(workingLED,HIGH);    //Turn the LED On

    //Request New Sensor Reading
    digitalWrite(triggerPin, HIGH);
    delayMicroseconds(10);
    digitalWrite(triggerPin, LOW);
    //
    tt = pulseIn(echoPin, HIGH, 3000);      //Store new Reading in tt variable

    // distance = (tt * 0.034) / 2;         // Distance can be counted using this formula
    // Serial.println(tt);

    /*  If Ultra Sonic Sesnor returns 0, which means out of range of no
    *   signal, than refresh the sensor.
    *
    *   This needs to be done for some sensor, which return 0 once there is no
    *   object in its range. And will return 0 than onwards, even if object is
    *   in its range.
    *
    */
    if(tt==0) {

      delayMS(100);
      pinMode(echoPin,OUTPUT);
      digitalWrite(echoPin,LOW);
      delayMS(100);
      pinMode(echoPin,INPUT);

      // while(1) {       // Trigger the watchdog to reset the Nano
      // }
    }
    //
    //
  }


  // Discard First Reading of Sensor after restart.
  if(firsttime)
  {
    firsttime=false;
    return;
  }

   /* Check and Trigger the relay if object in range  */
    if(!newSignal && tt<=1000 && tt>0) {    //if object reflection time is less than 1000uS
      delayMS(400);       //delay 400mS
      setOutput(true);    //turn the Solenoid And Buzzer ON

      wdt_reset();        //Reset the watchdog Timer to 0

      //Delay for 100mS
      //This time can be changed to increase or decrease the Sanitizer Output
      delayMS(100);
      setOutput(false);   //Turn the Solenoid and Buzzer OFF

      delayMS(400);       //Delay 400mS,
      newSignal = true;   //Set the NewSignal Flag
    }

    /*  Check if the NewSignal Flag is Set And the object has gone out of detection range
    *   By checking the reflection time > 1100uS, a 100uS more than the time used for triggering
    */
  if(newSignal && (tt>1100 || tt==0)) {
    newSignal = false;    //Unset the flag
  }
}

/*  Turn the Solenoid And Buzzer On or Off */
void setOutput(bool outputLevel)
{
  //outputLevel = false; will turn off the relay
  //outputLevel = true; Will turn on the relay

  // if(outputLevel)                        //Used for Debugging
  //   // Serial.println("Relay Start");
  // else
  //   // Serial.println("Relay Stop");

  digitalWrite(relayOut,outputLevel);
  outputOn=outputLevel;
}

/*  A Custom Delay Function, which does not use delay() function of arduino
*   Using this custom delay function solves the problem of hanging the timer0
*   due to turning ON or OFF the inductive load, in our case Solenoid.
*   This delay routine is based on Processor cycles, and does not use any
*   TIMER of MCU.
*   It was added after noting that Timer0 of MCU is getting hanged
*   at times, due to trigger of solenoid.

*   It accepts the Delay Request for more than 10mS, and delays the
*   further execution in multiples of 10mS only.
*
*/
void delayMS(int t)
{
  if(t<10)      // if delay is required for less than 10ms than return.
    return;

  while(t>0)
  {
    t=t-10;
    delayMicroseconds(10000L);
  }
}
Even if you are not aware of how to upload the program to Arduino Nano, you have nothing to worry of. All our kits would have the above program burnt in Arduino Nano. So, you will be ready to go as soon as you have finished wiring up all the electronics, and connecting the hardware.
Connections
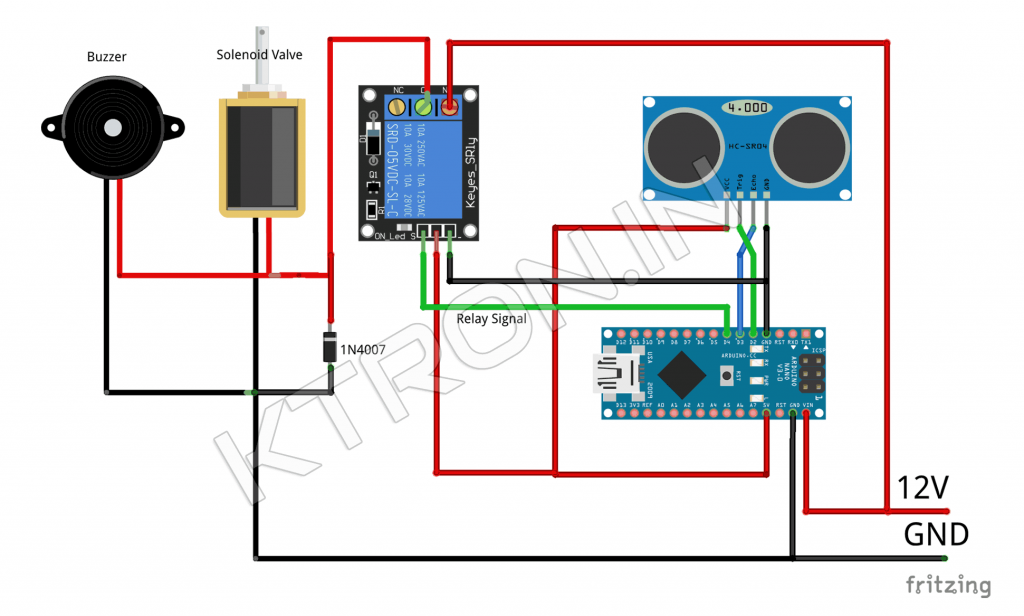
The connection diagram for all the electronics is above. The +12V DC and GND are connections from the 12V SMPS Adapter. The Solenoid Valve has 1 Side connected via a 6.3 mm Pipe to the body connector of the bottle. And other side of the Solenoid Valve is the output, from where the Hand Sanitizer Liquid will flow when hand is placed.
Connecting the Hardware
We have already completed hooking up the Solenoid Valve and Buzzer with Relay Module. The Relay module and Ultra Sonic Sensor are also connected with Arduino. Now, we have to connect the bottle with Solenoid Valve.
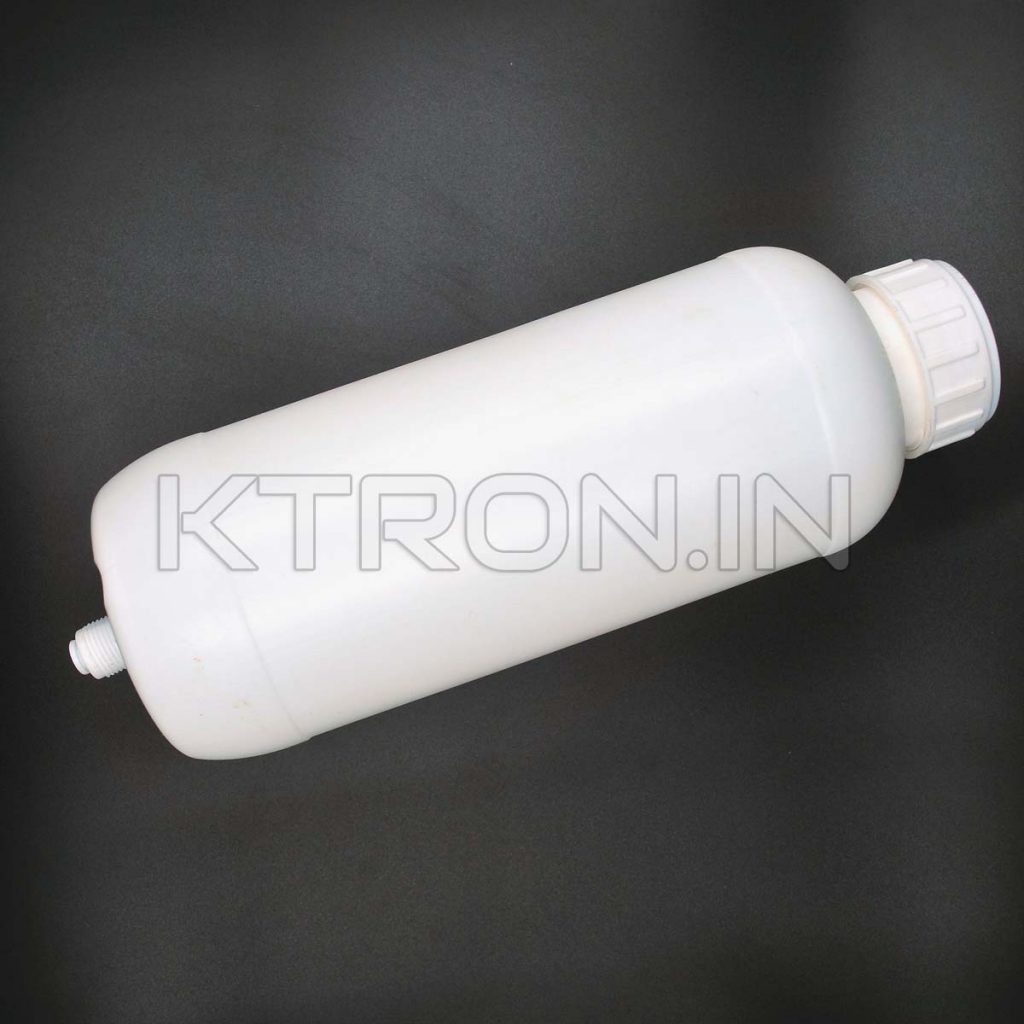
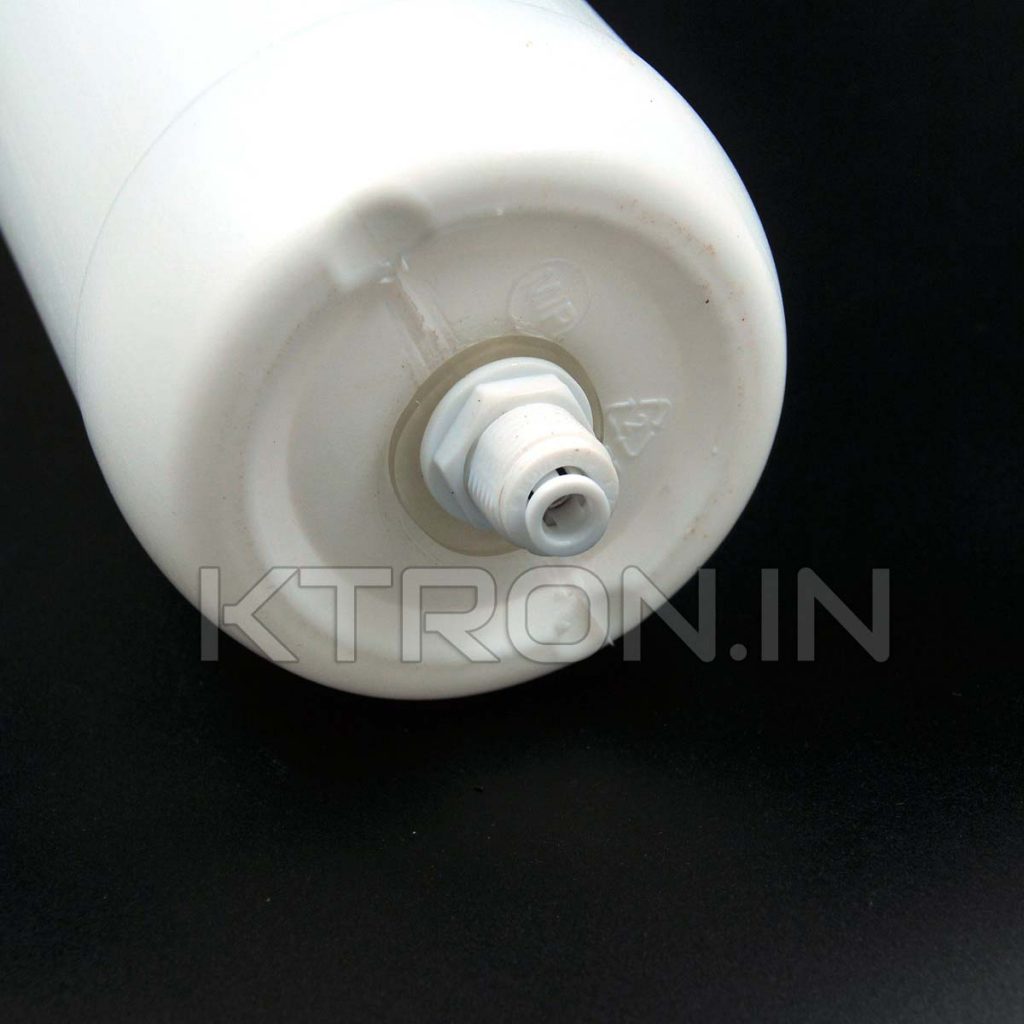
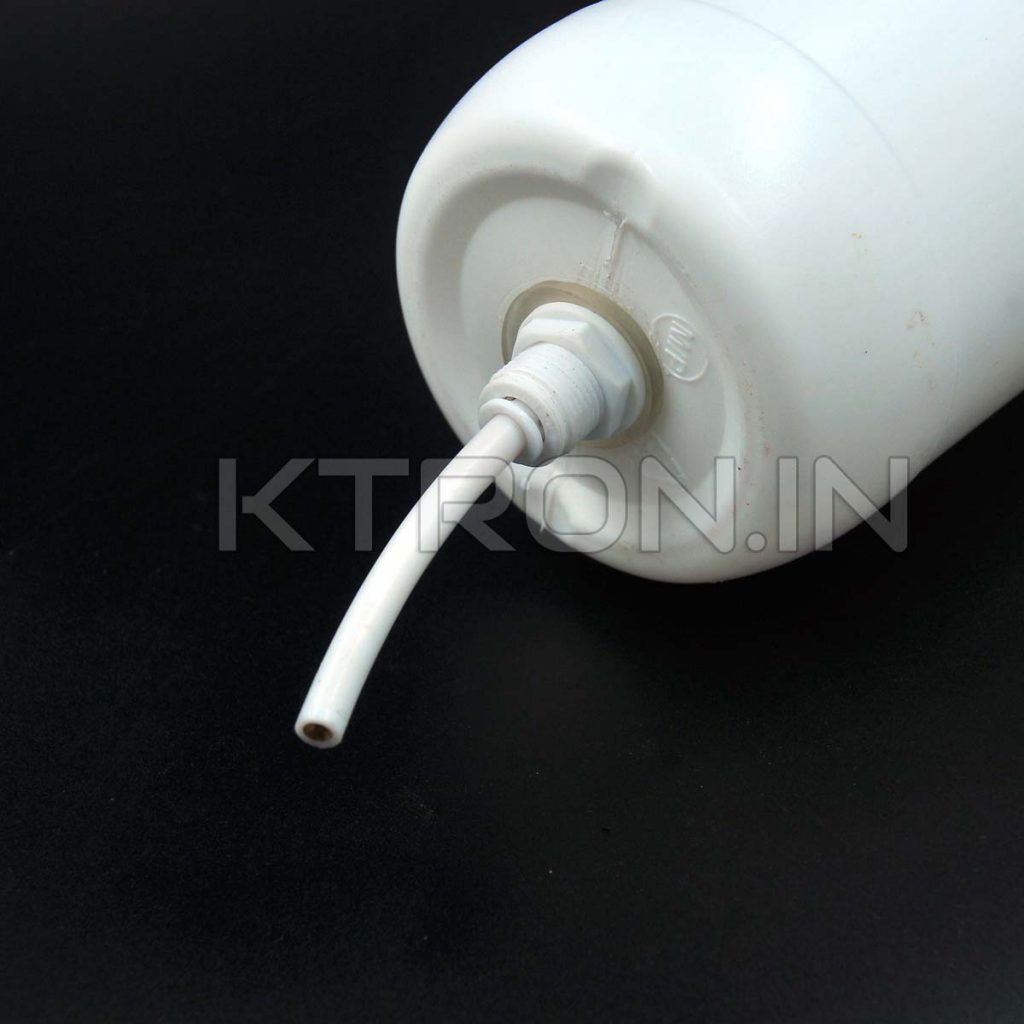
The bottle which comes with the kit is already fitted with a connector at the end of the bottle. This connector is leak proof, which means, there will be no leakage when from this connector. This connector is of push fit type, allowing to connect the pipe directly by pushing into the connector. Pushing the pipe will activate the locking mechanism of the connector.
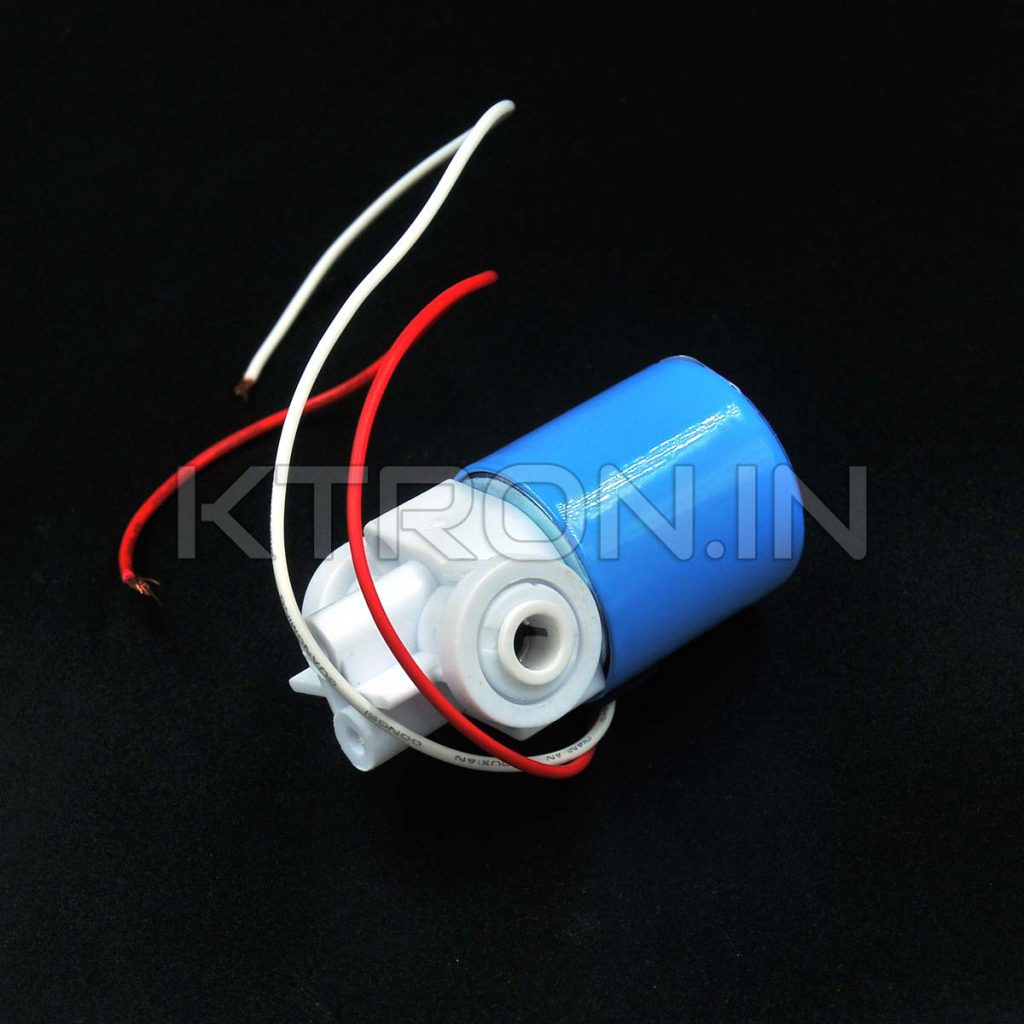
Next, we have to connect this with a Solenoid Valve. The Solenoid Valve is just like a simple valve. The only difference between a normal valve and Solenoid valve is that, the Solenoid Valve can be turned on by giving Voltage to the connections.
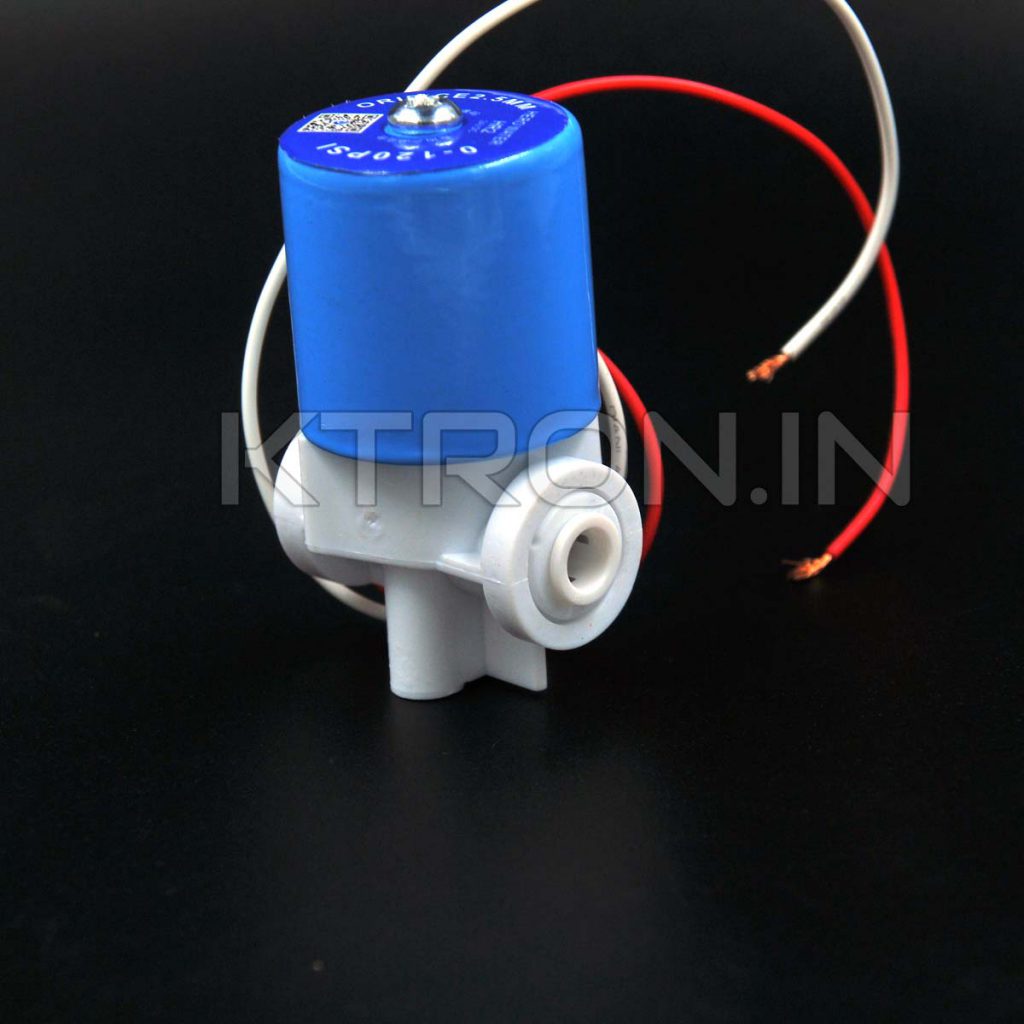
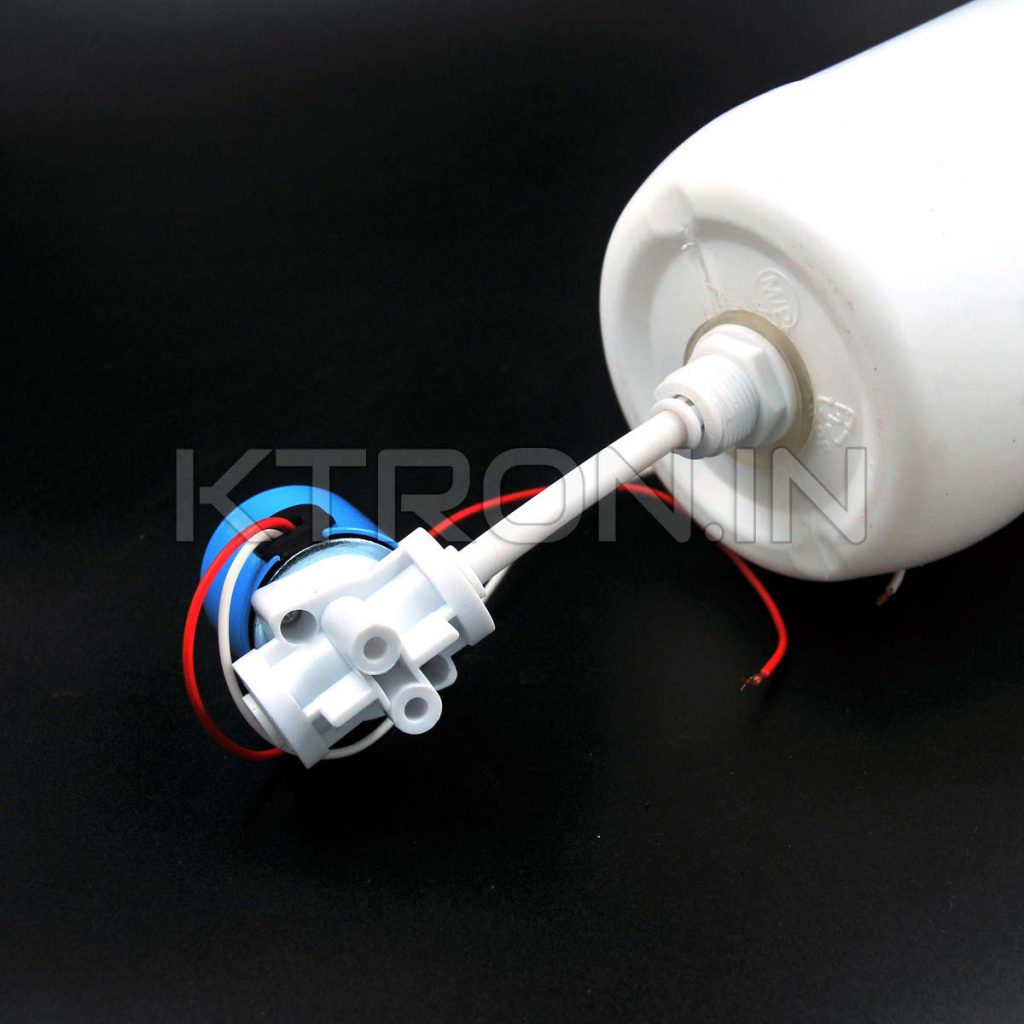
As seen in the image, the pipe connects to any end of the solenoid valve. The Solenoid Valve also has locking mechanism for the pipe, so the liquid will never leak from this connection. Now, the other end can be kept open or a piece of pipe with length less than 2-3 inches can be connected with it.
Placement of Parts
Oh, you’ve reached here! It means you have completed the wiring, and connected the bottle, and solenoid valve. So, you’re ready to place it in a container of your choice. But, the question in your mind would be how to place this things. So, follow the guidelines below, to keep it simple.
- Solenoid Valve’s outlet connection and Ultra Sonic Sensor should be placed at lower end of the container or enclosure.
- The Ultra Sonic Sensor should be placed such that the Hand of user reaches it after the outlet connection of Solenoid Valve. So, place the outlet connection before the Sensor, from user point of view.
- The placement of the bottle needs to be such that the user can fill it up easily.
- The pipe from the bottle is not much bendable, so it should be kept as straight as possible, which means that the bottle needs to be placed straight upward from the solenoid. If the pipe bends, there are chances of leakage, which we don’t need!
- Rest of the things, you can place however you want.

1 Comment
Comments are closed.